3D printer tolerance test generator
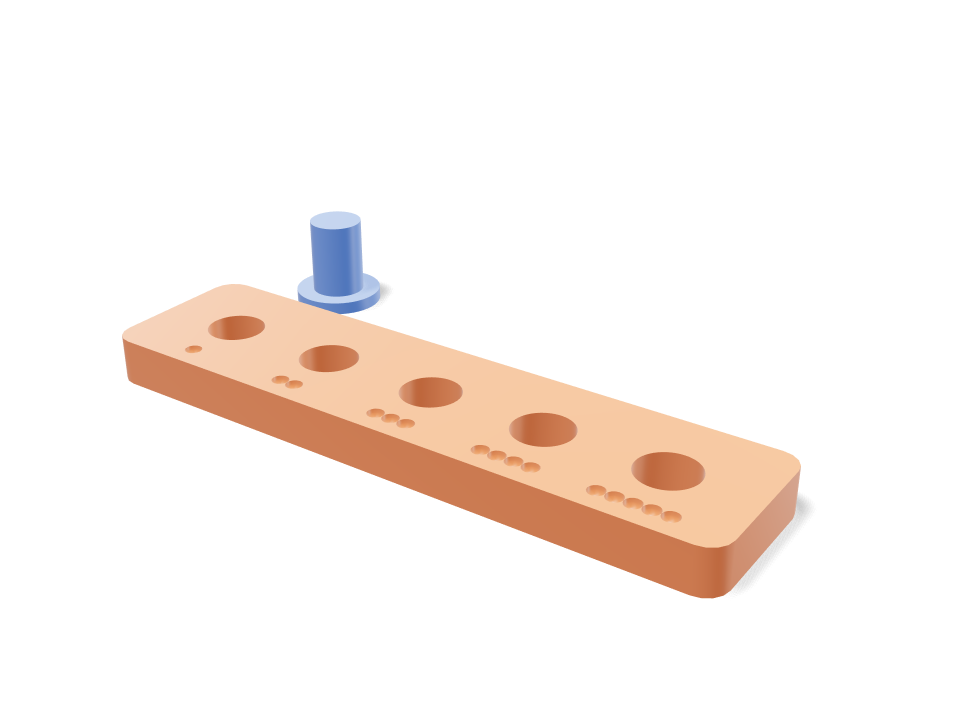
Every printer and filament prints holes a little differently. This ladder has holes that grow by a set step and a peg to try in each one, so you learn in one small print which gap gives you a press fit, a snug fit and a free sliding fit — and Loftsmith can then design with your numbers.
Building the model
Loading the 3D view
No adjustable sizes
Ask for the sizes you want to tweak, e.g. “make the width adjustable”.
Specs at the default size
Measured from the actual build on a Bambu Lab A1 in PLA. Every number updates live when you drag a slider above.
- Overall size
- 71 × 35 × 10 mm
- Parts
- 3
- Filament
- 5 g
- Print time
- 21 min
- Build plates
- 1
- Supports
- None needed
Engineering checks
- Gaps cover press to sliding fits0.10 to 0.50 mm
Adjustable sizes
| Setting | Default | Range |
|---|---|---|
| Number of holes | 5 | 3–7 |
| Smallest gap | 0.1 mm | 0.05–0.3 mm |
| Gap step | 0.1 mm | 0.05–0.2 mm |
| Peg diameter | 6 mm | 3–12 mm |
Parts list
| Part | Qty | Size (mm) | Filament | Time |
|---|---|---|---|---|
| ladder | 1 | 71 × 18 × 5 | 4 g | 10 min |
| peg | 2 | 10 × 10 × 10 | 0 g | 5 min |
How to make it
- Print the ladder and the pegs in the filament you plan to use.
- Try the peg in each hole — the dimples tell you which hole is which.
- Note the smallest gap where the peg turns freely: that is your sliding fit.
- Tell the AI your fits, e.g. “sliding fit = 0.3 mm”.
Print tips
- Print at the same speed and temperature as your real parts.
- Takes about 10 minutes and a few grams of filament.
FAQ
Why not just use 0.2 mm everywhere?
Printers differ by 0.1–0.3 mm. A test costs a few grams and saves reprinting a large part that doesn't fit.
Comments