Print-in-place hinge tester
Moving parts printed in one go only work if the gap around the pin is big enough for your printer. Print this small hinge at a few clearances and you'll know exactly what to use for boxes, lids and mechanisms.
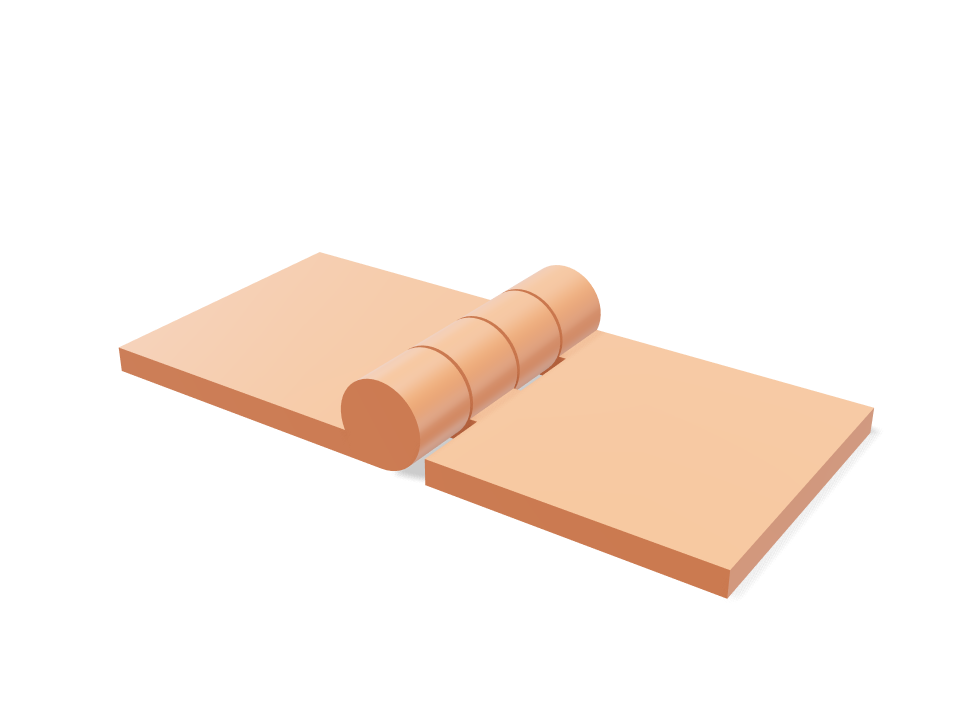
Building the model
Loading the 3D view
No adjustable sizes
Ask for the sizes you want to tweak, e.g. “make the width adjustable”.
Specs at the default size
Measured from the actual build on a Bambu Lab A1 in PLA. Every number updates live when you drag a slider above.
- Overall size
- 61 × 28 × 8 mm
- Parts
- 1
- Filament
- 5 g
- Print time
- 11 min
- Build plates
- 1
- Supports
- None needed
Engineering checks
- Clearance at least 0.2 mm0.4 mm around the pin
Adjustable sizes
| Setting | Default | Range |
|---|---|---|
| Joint clearance | 0.4 mm | 0.2–0.8 mm |
| Knuckle radius | 4 mm | 3–7 mm |
| Knuckle length | 7 mm | 5–12 mm |
How to make it
- Start with 0.4 mm clearance.
- Print flat without supports.
- Bend gently to break it free.
- If it's fused, raise the clearance by 0.05 mm; if it's sloppy, lower it.
Print tips
- Slow first layers help — elephant's foot fuses hinges.
- About 8 minutes and a few grams.
FAQ
What clearance works for most printers?
0.35–0.45 mm with a 0.4 mm nozzle. Well-tuned Bambu and Prusa printers often manage 0.3 mm.
Comments