Electronics enclosure generator
Pick a board and the enclosure places standoffs on its real mounting-hole pattern, adds corner posts for M3 heat-set inserts, cuts a USB-C opening at board height and builds a vented lid with countersunk screws.
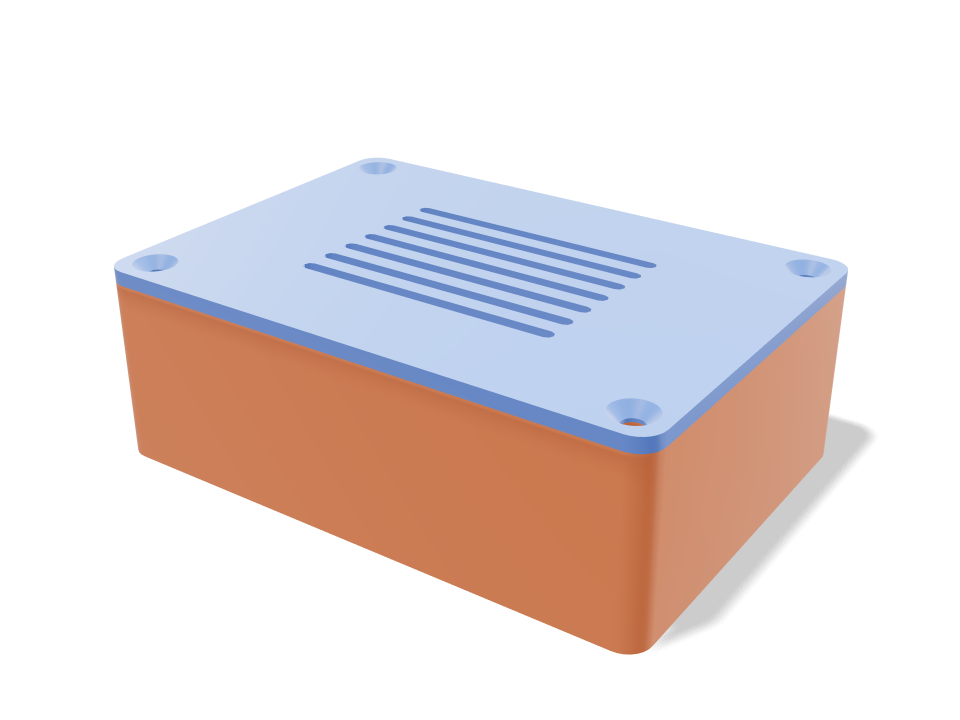
Building the model
Loading the 3D view
No adjustable sizes
Ask for the sizes you want to tweak, e.g. “make the width adjustable”.
Specs at the default size
Measured from the actual build on a Bambu Lab A1 in PLA. Every number updates live when you drag a slider above.
- Overall size
- 96 × 67 × 33 mm
- Parts
- 2
- Filament
- 49 g
- Print time
- 1 h 15 min
- Build plates
- 1
- Supports
- None needed
Engineering checks
- Standoffs clear the wall3 mm
- driver: lid screws goes in20 poses along its path clear of every part.
Adjustable sizes
| Setting | Default | Range |
|---|---|---|
| Board | rpi-4 | — |
| Space around board | 3 mm | 1–15 mm |
| Inner height | 28 mm | 12–80 mm |
| Wall | 2.4 mm | 1.6–4 mm |
| Lid vents | on | on / off |
Parts list
| Part | Qty | Size (mm) | Filament | Time |
|---|---|---|---|---|
| enclosure | 1 | 96 × 67 × 30 | 35 g | 52 min |
| lid | 1 | 96 × 67 × 2 | 14 g | 22 min |
How to make it
- Choose your board.
- Set clearance around the board and inner height for HATs/shields.
- Press in M2.5 and M3 heat-set inserts.
- Mount the board and screw on the lid.
Print tips
- PETG near hot SBCs; PLA can creep at 60 °C.
- Insert holes are sized for standard CNC-kitchen-style inserts.
FAQ
Can I add more ports?
Describe the ports to the Loftsmith AI (e.g. 'two micro-HDMI and ethernet on the long side') and it will cut them in the right places.
Comments