一体式葫芦孔墙架
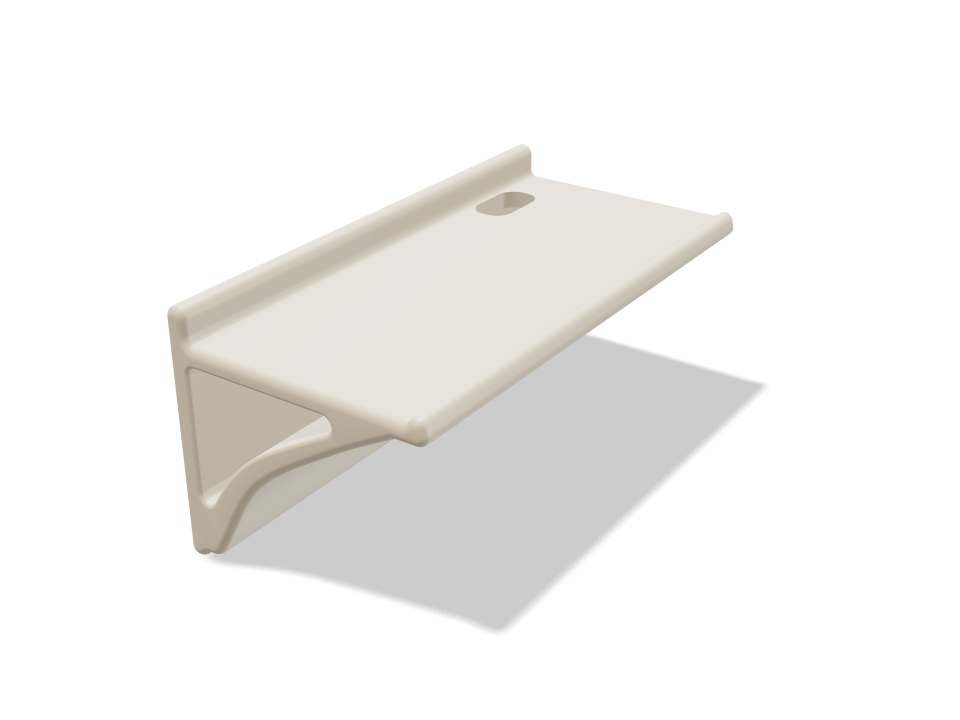
一块前沿卷边的薄搁板,由一根向下弯入墙板的弧形撑杆托住,从侧面看会留出一个圆角窗口。它侧放一体打印,所以每一层都顺着受力路径。两个隐藏的葫芦孔把它挂在墙上,搁板后部的槽让设备的线落进空腔,再从搁板端头走出。校验涵盖突然放上载荷时搁板相对材料的应力、螺丝头的沉孔、螺丝拉拔,以及插头和线的走线路径。
Building the model
Loading the 3D view
No adjustable sizes
Ask for the sizes you want to tweak, e.g. “make the width adjustable”.
默认尺寸下的规格
在 Bambu Lab A1 上用 PLA 实际构建测得。拖动上方滑块时,每个数字都会实时更新。
- 整体尺寸
- 90 × 180 × 83 mm
- 零件数
- 1
- 耗材
- 134 g
- 打印时间
- 3 h 16 min
- 打印盘
- 1
- 支撑
- 不需要
工程校验
校验和参数名称直接来自 CAD 引擎,以英文显示。
- Lead drops through the deck and out of the endoverlap 0.00 mm³; a 6 mm lead bends at 24 mm (4.0x)
- Plug passes the deck slotan 11 mm plug body sampled at 3 heights through the slot: overlap 0.00 mm³
- Deck carries the load0.31 MPa between plate and strut at 2 kg set down suddenly; PLA allows 16.7 along the layers
- Keyhole screws take the pull-out26 N per screw at 4 kg; use wall anchors rated well above this
- Keyholes sit behind the plate3.2 mm head pocket in a 7 mm plate, 0.8 mm skin in front of it
可调尺寸
| 设置 | 默认 | 范围 |
|---|---|---|
| Width | 180 mm | 120–240 mm |
| Depth | 90 mm | 60–120 mm |
| Load on the shelf | 2 kg | 0.5–4 kg |
| Wall screw centres | 120 mm | 60–200 mm |
| Thickest lead | 6 mm | 3–8 mm |
制作方法
- 设置宽度、深度和搁板上的载荷。
- 让孔距与墙上的螺丝对齐。
- 侧放打印,拧两颗螺丝并留出 3 mm 螺丝头,然后挂上。
打印建议
- 侧放打印,倒角端朝下;无需支撑。
- 使用承载能力远高于校验所给拉拔力的膨胀管。
常见问题
能放多重?
默认按突然放上 2 kg 校验。葫芦孔螺丝承受校验给出的拉拔力,请选择承载能力远高于这个值的膨胀管。
Comments